this menu requires access rights assigned in the User Setup.
The Export Debtor Information sends all debtors demographics and debt balances so any payments or debt adjustments are applied and forwarded to the Department of Revenue and Education Lottery.
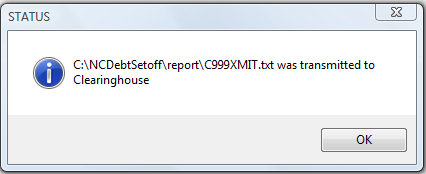
File Name - the file name transmitted is the entity code "C" (County or County Agency) or "M" (Municipality) + XMIT.txt .
Samples: C001XMIT.txt, C901XMIT.txt, M213XMIT.txt.
Frequency: this option can be executed at anytime. If any adds or edits have been completed the file should be sent at least once per week, Friday recommended, as the Clearinghouse updates balance each weekend. If the file is transmitted more than once per week, it will overwrite the prior file. There is no problem with this since each time the file is transmitted it sends ALL debtor debt balances.
Once the file is transmitted and received at the Clearinghouse, an Upload Confirmation email is automatically sent as final confirmation that the file was transmitted. Once processed over the weekend an Import Status Report is also transmitted via email. The email lists debtor, debts and debt amounts, before and after along with any rejected debts. An error report is provided with the actual debtor and debt information for review and correction, if necessary. The Import Status Error report report can be downloaded from the software in the Reports menu.
this menu requires access rights assigned in the User Setup.
 - once the Debtor Information is executed be sure to look for an Import Status report by the following Monday or Tuesday. If you do not receive it contact the Clearinghouse to be sure your debtor information was processed. Before calling make sure the email didn't go into your Junk folder or wasn't treated as spam.
1. From the Main Menu click Transmit:
![]()
There are two functions within Transmit:
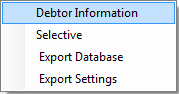
2. Move the mouse over the Export to Clearinghousefunction to view the five options:
3. Move the mouse over Debtor Information and click this option:
4. The following screen appears:
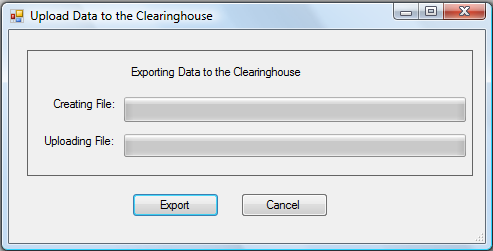
5. Click  to begin the upload process:
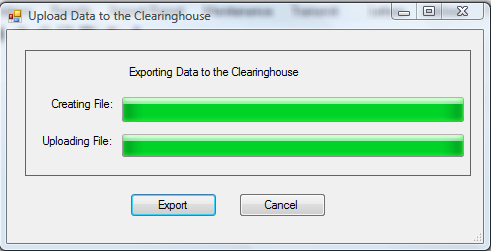
6. A progress bar appears:
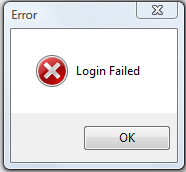
- If the connection to the Clearinghouse does not work, the following error occurs:
If the upload was successful the following appears:
- Click
to return to the main menu: